 Web Page (Chrome)
The Web Page connection can be used to display web pages and integrate web based administration consoles.
Dashboard
The Web Page Dashboard is shown in the Dashboard panel when you select a Web Page connection in the Navigation panel. It can be configured to immediately show the web page - without actually connecting to the session.
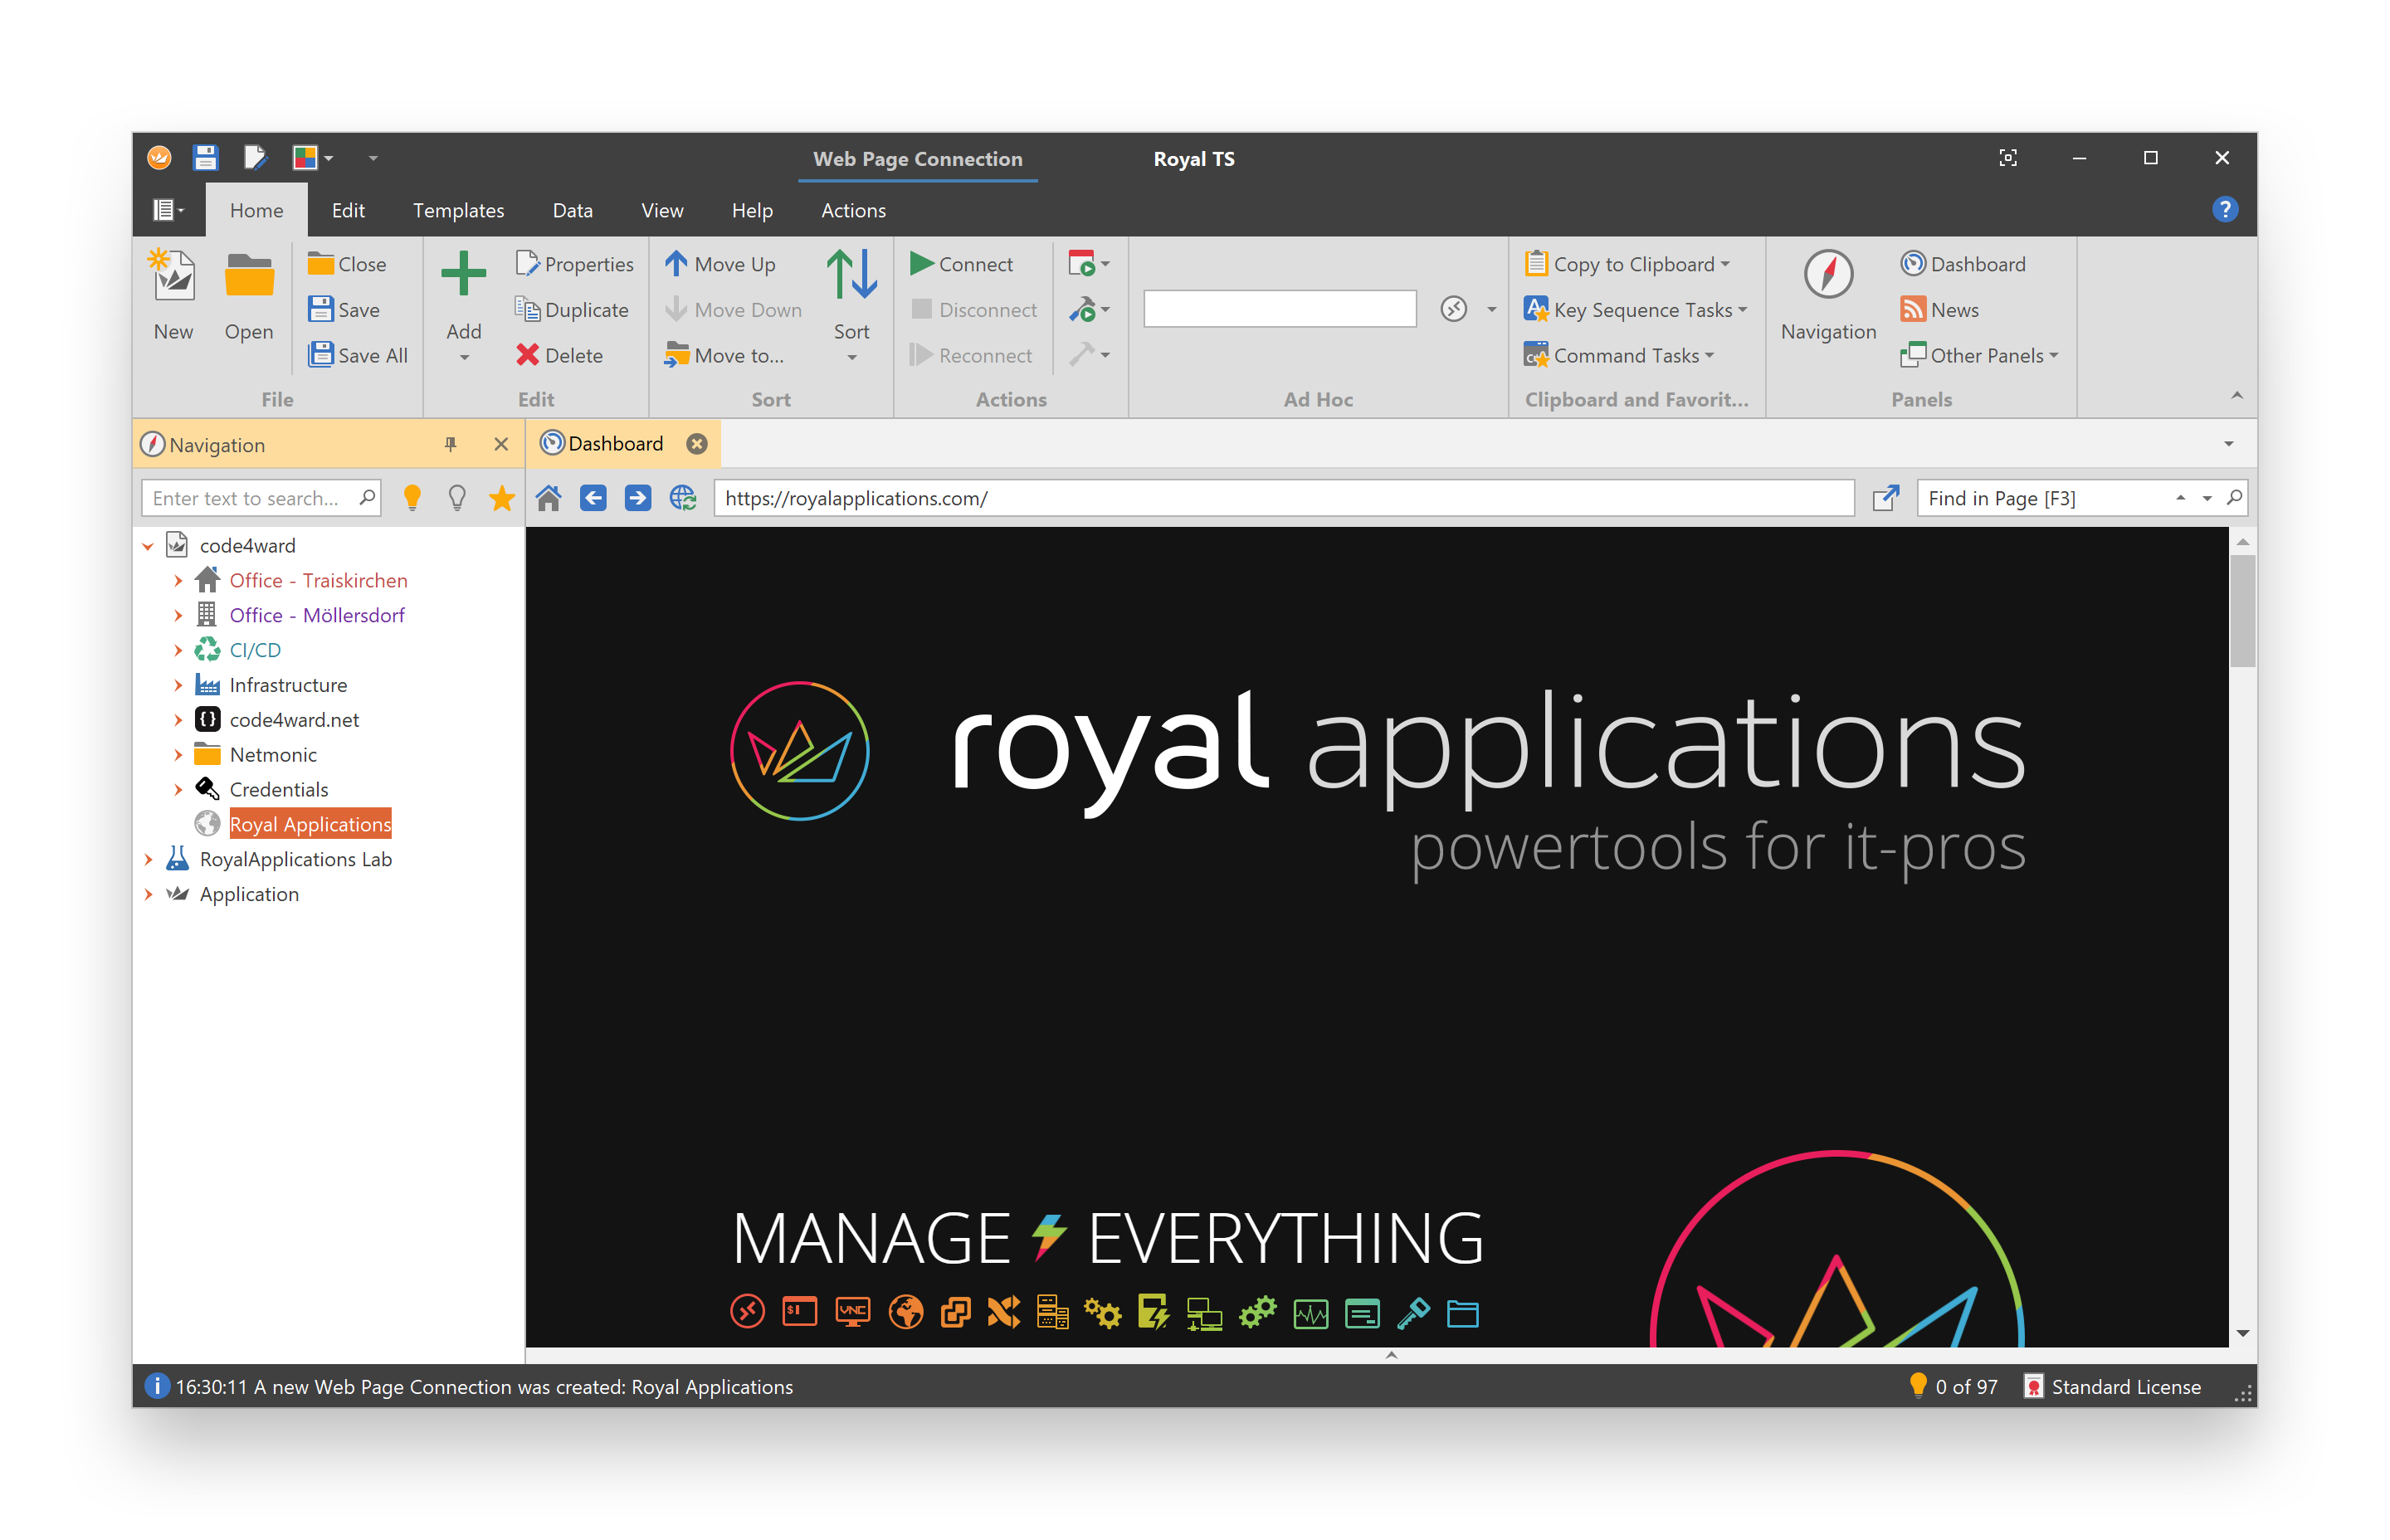
Dashboard Features
- Basic browser functions (Home, Back, Forward, Refresh).
- Open the configured URL in the default browser.
- Search within a page.
Dashboard Settings
To configure the application default settings for the included dashboard, open the Plugins Management and click on Dashboard for the Web Page plugin based on IE.
To configure individual dashboard settings for a connection, use the Dashboard property page.
Plugin Settings
To configure the plugin settings, open the Plugins Management and click on Settings for the Web Page plugin:
Disable External Workerprocess
If checked, rundll.exe will be used to host Chromium instead of the external workerprocess.
Note
Rundll.exe is a 32 bit application which has memory allocation limits. Depending on the web page you want to load, you might see crashes because of memory constraints. It is recommended to use the external workerprocess for best compatibility.
Pre-Load Engine
If checked, Royal TS will pre-load the engine during application startup to improve performance.
Note
Enabling this setting will increase memory usage.
Connection Properties
The Web Page (Chrome) Properties dialog is shown:
- for a new Web Page connection by clicking the Web Page menu item in the Add drop down menu in the Edit group on the Home ribbon tab when the Chrome based plugin is set as the default plugin.
- for a new Web Page connection by clicking the More... menu item in the Add drop down menu in the Edit group on the Home ribbon tab and selecting the Web Page (based on Chrome) entry from the list of available objects.
- for an existing Web Page connection by selecting a Web Page connection which is configured to use the Chrome based plugin and clicking on the Properties command in the Edit group on the Home ribbon tab.
- as a bulk-edit dialog when multiple Web Page connections which are configured to use the Chrome based plugin were selected in the Folder / Document Dashboard and the Properties command in the Edit group on the Home ribbon tab is clicked. See also: Bulk Operations
 Web Page Properties
The Web Page property page allows you to configure basic connection settings.
Display Name (required)
Enter a display name for object.
Color
Click the color picker button in the display name text box to select a color. In the User Interface settings you can configure to show the color in the navigation tree, the connection tab or as connection border.
Icon
Click the icon picker button next in the display name text box to select and assign a custom icon to the object.
URL
Enter the web page URL for this connection. Replacement tokens are supported.
Note
You may leave the URL field blank and configure the connection to display a specific content by providing the source for the page. This may be useful if you want to host your own ActiveX controls in a web page.
Description
Enter a description for the object.
 Auto Fill
The Auto Fill page allows you to configure automatic form submission for web pages in Royal TS using Web Page connections or using the Royal Passwords browser plugins.
Important
Since Royal TS V7.3 we introduced a new and much easier way to create auto fill mappings. Simply save and close the connection properties and connect to the web page connection. In the Actions ribbon tab, select Auto Fill Configuration, scan the page when you see the login screen and add the mappings as needed. More information can be found here.
URL (only visible for Credential objects)
You can provide a web page address where this credential should be used.
Add
Allows you to add a new element to the mappings list.
Edit
Allows you to edit the selected element from the mappings list.
Remove
Allows you to remove the selected element from the mappings list.
Move Up
Moves the selected element up one line.
Move Down
Moves the selected element down one line.
Elements
A list of HTML INPUT elements found on the web page which can be used to fill out and submit login forms. Select the element to fill, focus or click from the list.
Tip
You can also specify a jQuery selector in the Elements combo box.
Refresh
Click to refresh the list of available HTML elements.
Action (formerly Type)
- Fill: allows you to map a value from the credential (such as username or password) to the selected HTML INPUT element.
- Click: allows you to perform a click on the selected HTML INPUT element (such as Login or Submit button).
- Focus: allows you to set the keyboard focus to the selected HTML INPUT element.
Value
Specify a value to map to the selected HTML INPUT element. Use the fly-out button to select replacement tokens to fill in values from the credential object.
Important
Do not enter credentials directly in the auto fill page. Use credentials or credential-assignments and the fly-out button on the right to insert replacement tokens (such as \(EffectiveUsername\), \(EffectivePasswords\), etc.).
Delay (in ms)
Specify the delay in milliseconds before auto fill is executed.
Retry until success
If checked, Royal TS will retry to fill forms in subsequent requests until the auto fill is successful. This setting can be useful when a web page redirects to the login page.
 Credentials
The Credentials page allows you to assign a credential to the object. You can specify username and password, assign a predefined credential or you specify a credential by name (ideal when you share your configuration). You can also use the credentials defined in the parent folder.
Do not use any credentials
When selected, no credentials are configured for the object. Connections that require credentials may prompt to enter credentials or fail to connect.
Use credentials from the parent folder (not always available)
When selected, Royal TS will look for a configured credential in the parent folder.
Note
Not available for Royal Server objects, Secure Gateway objects, Remote Desktop Gateway objects and Key Sequence Tasks
Use from this connection (not always available)
When selected, the username and password is used from the context connection object.
Specify username and password
When selected, a username and password can be provided. For domain accounts use the syntax "domain\username" (without the quotes).
Use an existing credential
When selected, assign an existing credential to the object using the drop-down list. Use the add button to add a new credential. Use the edit button to edit the selected credential.
Tip
The drop-down list supports sorting and filtering "as you type" to easily find the correct credential.
Specify a credential name
When selected, enter or choose a credential name you want to assign to the object during connect-time.
If you enter '?' (without the quotes) as credential name, Royal TS will prompt for credentials by showing the credential picker dialog.
Note
Assigning a credential by name is recommended when a team of users share the same configuration file. Each user can define his own credential as long as it is using the same name and saves the credential in his own personal and protected document. This makes sharing files across team members very easy while keeping credentials safe.
Omit Domain
When checked, Royal TS will omit the domain portion of the username (domain\username or username@domain).
Note
The Omit Domain checkbox is not available for all object types!
Automatic Logon
When checked, Royal TS will use the credentials to log on to the connection automatically. This setting applies only to connection types supporting automatic logon and is ignored if a connection doesn't support automatic logon.
Note
To access the configured credentials through replacement tokens (for example in Auto Fill or Key Sequence Task configurations), use the replacement tokens \(EffeciveUsername\) and \(EffectivePassword\).
Edit Source
Opens the properties dialog of the source object for the configuration. This button will only be available when the object is configured to use the parent configuration.
See also: Working with Credentials, Credential, About shared documents
 Tasks
Tasks
You can specify a task to be executed before a connection is established and after it has been disconnected. For example: establish a VPN connection before you connect and close it after disconnect.
Connect Task
Do not execute a task
Royal TS will not execute a command task when a connection is established.
Use task from parent folder
Royal TS will look for a configured connect task in the parent folder. This option is not available on the document level.
Use an existing task
Choose a command task from the drop-down list. Use the add button to add a new credential. Use the edit button to edit the selected credential.
Note
The drop-down list supports sorting and filtering "as you type" to easily find the task you are looking for.
Specify a task name
When selected, enter or choose a task name you want to assign to the object during connect-time.
Note
Assigning a task by name is recommended when a team of users share the same configuration file. Each user can define his own task as long as it is using the same name and saves the task in his own personal and protected document. This makes sharing files across team members very easy.
Wait for connect task completion
If checked, Royal TS will wait for the selected task to finish before the connection will be established.
Execute for first connection in folder
If checked, the task will only be executed if no other connection in the same folder is active.
Note
This setting might be useful if you need to setup a VPN connection. Put all your connections which require you to setup this VPN in one folder and Royal TS will establish the VPN connection only for your first connection.
Abort when connect task fails
If checked, the connection will not be established when the configured task fails and returns an Exit Code other than 0.
Disconnect Task
Do not execute a task
Royal TS will not execute a command task when a connection is disconnected.
Use task from parent folder
Royal TS will look for a configured disconnect task in the parent folder. This option is not available on the document level.
Use an existing task
Choose a command task from the drop-down list. Use the add button to add a new credential. Use the edit button to edit the selected credential.
Note
The drop-down list supports sorting and filtering "as you type" to easily find the task you are looking for.
Specify a task name
When selected, enter or choose a task name you want to assign to the object during disconnect-time.
Note
Assigning a task by name is recommended when a team of users share the same configuration file. Each user can define his own task as long as it is using the same name and saves the task in his own personal and protected document. This makes sharing files across team members very easy.
Wait for disconnect task completion
If checked, Royal TS will wait for the selected task to finish before the connection will be disconnected.
Execute for last connection in folder
If checked, the task will only be executed if it is the last active connection in the folder.
Note
This setting might be useful if you need to setup a VPN connection. Put all your connections which require you to setup this VPN in one folder and Royal TS will disconnect the VPN connection after the last connection is disconnected.
See also: Working with Tasks, Command Task
 Key Sequence
The Key Sequence page allows you to configure a sequence of key strokes (simulating keyboard events) to be sent to the connection after the connection has been established.
Do not send a key sequence
This is the default value. If selected, no key sequence is sent to the remote session after connect.
Use key sequence task from parent folder
Royal TS will look for a configured key sequence task in the parent folder. This option is not available on the document level.
Specify a key sequence
If selected, a key sequence can be specified for this connection.
Note
Use the fly-out button to the right to show a list of available replacement tokens and special key commands. Use the WAIT command anywhere in the sequence to delay the sequence.
Examples for Key Sequences:
- A group policy is set to show a message whenever a user is attempting to log on interactively. Create a key sequence "{WAIT:1000}{ENTER}" which will wait 1 second (1000ms) after successfully connected to the remote desktop session and sends the ENTER key to the remote session to confirm the message.
- A web page connection to a flash based application which requires you to log on using a username and password can be configured to send the appropriate key sequence after the connection has been established.
Use an existing key sequence task
If selected, a key sequence task can be specified for this connection.
Note
If a key sequence is in progress, do not interact with Royal TS or any other application after you connect. The status bar message indicates when a key sequence is in progress and when it has finished.
Specify a key sequence task name
When selected, enter or choose a key sequence task name you want to assign to the object during connect-time.
Note
Assigning a task by name is recommended when a team of users share the same configuration file. Each user can define his own task as long as it is using the same name and saves the task in his own personal and protected document. This makes sharing files across team members very easy.
Edit Source
Opens the properties dialog of the source object for the configuration. This button will only be available when the object is configured to use the parent configuration.
 Window Mode
The Window Mode page allows you to control where the connection should open. Most connection types support Main Window (Embedded) mode and External Window mode. Remote Desktop connections, for example, additionally support External Window (Full Screen) mode.
Open connection in
- Main Window (Embedded)
When selected, the connection will be embedded in the main window. - External Window When selected, the connection will open in an external window.
- External Window (Full Screen)
When selected, the connection will open in an external window in full screen mode (no window title bar and borders).
Use Multiple Monitors
If checked, the connection will use all monitors if connected in Full Screen mode or if the connection is changed to use Full Screen mode while connected.
Note
This option is only available for connections supporting full screen and multiple monitors (like Remote Desktop).
Don't show the connection bar
If checked, the connection bar will not be shown in full screen mode.
Note
This option is only available for Remote Desktop connections. To display the connection bar, use the Ctrl + Alt + Home keyboard shortcut.
External Window Settings
The following settings can be configured when the window mode configuration is set to external window.
Screen
- Remember Screen
Royal TS remembers which screen the connection was on after you've disconnected the connection and tries to open the external connection window on the same screen the next time you connect. - Screen 1 ... 9
Choose on which screen you want the external connection to be opened.
Note
Setting the Screen configuration to a screen which is currently not available on your computer will be ignored as long as the screen is not available. A common scenario for this is, working with the same file on a laptop computer with only one screen and a workstation with multiple screens connected. Setting connections to open on the Screen 3 will open on the main display on your laptop while the same connection will open on your workstation on Screen 3.
Position
- Remember Position
Royal TS will remember the last window position after you've disconnected the connection and tries to open the external connection window at the same position the next time you connect. - Custom Left and Top
Specify the left and top coordinates (in pixels) where the external connection window should be positioned.
Size
- Remember Size
Royal TS will remember the last window size after you've disconnected the connection and tries to open the external connection window with the same size the next time you connect. - Custom Width and Height
Specify the width and height (in pixels) of the external connection window. - Maximize
The external connection window will be maximized. - Preferred Size
The external connection window will use the sized configured in the connection. This setting will only be effective for connection types supporting a custom client size (for example the Desktop Size in the Display Options of a Remote Desktop Connection). If a connection type doesn't support a custom client size the setting will be ignored and the external window will be maximized.
Minimize Main Window
When checked, Royal TS will minimize the main window after the connection was established.
Open Display Properties
Opens the display properties control panel. With the control panel you can identify your screens.
 Dashboard
The Dashboard page allows you to setup the default dashboard behavior for this connection. Dashboards are updated when a selection has changed. By default, the dashboard tab is shown and activated for inactive connections.
Use the plugin default settings
If selected, Royal TS will use the plugin default settings for the dashboard. You can change the plugin default settings by clicking on the Settings... button. Changes to the plugin default settings will affect all connections using the same plugin and the default settings. See also: Plugins
Use connection specific settings
If selected, Royal TS allows you to configure the dashboard settings for the connection.
Connection Dashboard Settings
Show Web Page in Dashboard
If checked, Royal TS loads the configured web connection in the Dashboard. This is useful for quickly checking status pages without opening the full connection.
 Secure Gateway
The Secure Gateway page allows you to configure a Secure Gateway object for supported connections or choose to use a Secure Gateway configuration from the parent folder.
The following object types can be assigned:
- Secure Gateway
- Royal Server
- Azure Bastion Gateway
Use Secure Gateway from the parent folder
If checked, Royal TS will look for a configured Secure Gateway in the parent folder. This option is not available on the document level.
Gateway Usage
- Never
The Secure Gateway is never used and Royal TS will directly connect to the remote computer. - Always
The Secure Gateway is always used and Royal TS will tunnel all communication to the remote computer through the gateway. - On Demand
The Secure Gateway will be used if the target machine cannot be reached directly.
Direct Connect (No Secure Gateway)
This is the default value. If selected, no Secure Gateway is used and Royal TS will directly connect to the remote computer.
Specify a Secure Gateway object
The selected Secure Gateway object is used for supported connections.
Note
A Secure Gateway is a component included in Royal Server and can be used to connect through an SSH tunnel (port forwarding).
Edit Source
Opens the properties dialog of the source object for the configuration. This button will only be available when the object is configured to use the parent configuration.
See also: Introducing Royal Server
 Active Plugin
The Active Plugin page allows you to setup which plugin should be used for this connection.
Use Application Default Setting
If checked, the application default plugin is used for this connection. Clear the check box to configure a specific plugin for this connection.
Click on Open Plugin Management to change the default plugin for this connection type.
Active Plugin
Select the plugin which should be used for this connection.
Information
Click on the information button to open the selected plugin information page.
Settings
Click on the settings button to open the selected plugin settings page.
Open Plugin Management
Click to open the Plugin management dialog.
See also: Plugins
 Advanced
The Advanced page allows you to configure advanced Web Page settings.
General
Show Toolbar
If enabled, a browser toolbar with basic commands and access to the URL is shown.
Show Status Bar
If enabled, a browser status bar is shown.
Ignore Certificate Errors
If enabled, the certificate errors are suppressed.
Open Links in Default Browser
If enabled, each clicked link will be opened in your default browser and not in the connection tab or window.
Open Popups in Default Browser
If enabled, popup windows will be opened in the default browser and not in a window hosted by Royal TS.
Clear Cache
If enabled, the web browser cache (including cookies) is cleared when the connection is closed.
Auto Refresh
If enabled, the web page will be refreshed automatically. The minimum value is 5 seconds.
Custom Browser Size
If enabled, you can specify a custom width or height for the web browser. This can be useful to test a web page at different screen resolutions.
Zoom Factor
Set the initial zoom factor for the web page.
Certificate
Client Certificate
Configure how Royal TS behaves when a web site requests a client certificate.
- Continue without certificate
Continue loading the page without selecting a client certificate. - Prompt for certificate
Prompt for a certificate when the web site requests one. - Continue with certificate
Continue with the configured certificate.
Select Certificate
Select the certificate to use when Continue with certificate is configured.
Thumbprint
Shows the thumbprint of the selected client certificate.
Engine
The Engine settings page allows you to create a dedicated Browser Engine for isolation. You can set various options like JavaScript, Proxy or security related options.
Use Dedicated Engine
If enabled, a new web browser engine will be created for isolation.
General
Language
A two lower case letter ISO 639-1 language code. For example, you can set it to "fr" to use French for all UI messages. In case a language can have multiple variations, you can use four letter culture name in the format languagecode2-country/regioncode2. For example, "en-US" for U.S. English, and "en-GB" for United Kingdom English. Not all languages are supported. In case you set an unsupported language, U.S. English will be used.
Engine Id
A custom engine identifier to share cache and session across multiple connections.
Allow JavaScript
If enabled, JavaScript is allowed in the browser.
Allow Clipboard Access
If enabled, the Clipboard can be accessed using JavaScript.
Allow Zooming
If enabled, the zoom factor can be changed in the browser.
Allow Close Window
If enabled, images are automatically loaded.
Load Images
If enabled, images are automatically loaded.
Proxy
Proxy Mode
The following proxy modes are available:
- Do not use a proxy server
- HTTP
- SOCKS 4
- SOCKS 4A
- SOCKS 5
- Use Secure Gateway as proxy server
Direct Mode
If checked, direct mode is used for the proxy configuration when supported.
Note
When you select Use Secure Gateway as proxy server you also need to configure the Secure Gateway settings of the web page connection.
Proxy Server
Specifies the host name of the proxy server.
Port
Specifies the proxy port to be used.
Bypass
Specify a list of hosts to bypass the proxy server. You can separate multiple hosts with " " (space), "," or ";".
Credential Configuration
Do not use any credentials
When selected, no credentials are configured for the object. Connections that require credentials may prompt to enter credentials or fail to connect.
Use credentials from the parent folder (not always available)
When selected, Royal TS will look for a configured credential in the parent folder.
Note
Not available for Royal Server objects, Secure Gateway objects, Remote Desktop Gateway objects and Key Sequence Tasks
Use from this connection (not always available)
When selected, the username and password is used from the context connection object.
Specify username and password
When selected, a username and password can be provided. For domain accounts use the syntax "domain\username" (without the quotes).
Use an existing credential
When selected, assign an existing credential to the object using the drop-down list. Use the add button to add a new credential. Use the edit button to edit the selected credential.
Tip
The drop-down list supports sorting and filtering "as you type" to easily find the correct credential.
Specify a credential name
When selected, enter or choose a credential name you want to assign to the object during connect-time.
If you enter '?' (without the quotes) as credential name, Royal TS will prompt for credentials by showing the credential picker dialog.
Note
Assigning a credential by name is recommended when a team of users share the same configuration file. Each user can define his own credential as long as it is using the same name and saves the credential in his own personal and protected document. This makes sharing files across team members very easy while keeping credentials safe.
Advanced
Disable Hardware Rendering (GPU)
Disables the GPU when the browser renders a page.
Disable Spell Checker
Disables the browser built-in spell checker.
Cache Path
Specify a custom path to cache browser files and cookies.
Custom User Agent
Specify a custom user agent string.
Command Line Arguments
Specify additional command line switches to the Chromium engine separated by blanks.
Custom CSS
Specify one or more style rules which should be applied to the document.
 Custom Content
The Custom Content page allows you to define a custom content (HTML page) to load instead of loading an URL.
Custom Content
If checked, paste your HTML code into the textbox.
Note
You can also use replacement tokens like \(URI\) or \(CustomField1\) etc. to insert values from those fields.
 Notes
Notes
The Notes page allows you to enter notes for the selected object with HTML formatting, links and embedded images. You can also configure the notes to be inherited from the parent folder.
Use Notes from the parent folder
When selected, Royal TS will display the notes from the parent folder in the notes panel. This option is not available on the document level.
Tip
To embed images, drag them into the editor using drag & drop.
 Custom Properties
The Custom Properties page allows you to enter and store additional information for the object. Various data formats are available, including protected fields. You can also group properties by using Header.
Inherit from Parent
When checked, the properties configured on the parent folder are shown but are read-only.
Custom Properties
Use the '+' icon to add a header or a Field or multiple fields based on a template. Click on the label to name the field and enter a value. Click the 'Gear' icon to remove a field or header. The 'Gear' icon also shows additional options, like moving a field up or down.
 Custom Fields
The Custom Fields page allows you to enter and store additional information for the object. Custom fields can be used in tasks and templates to inject values from the context connection.
Standard custom fields are also shown in the folder dashboard views and in the properties panel. Protected custom fields can be used to store confidential data (for example when you need an additional password in a task). If you make use of protected custom fields, make sure you encrypt and password protect your document.
Note
Custom fields can be used in Tasks and in the Properties Panel. You can put web page URLs (like an iLO management address) or command lines (such as programs or batch files) in the custom fields and execute them using tasks or directly from the properties panel. Each individual custom field can also be configured to be inherited from the parent folder.
 Parent Folder
The Parent Folder page allows you to view or change the parent folder of the selected object. To move multiple objects to another folder use the parent folder page in bulk-edit mode or use the move to command from the Edit tab (see Working with Connections).
Important
You cannot create connections in the Application document. Moving a folder containing connections to a folder in the Application document will fail.